Introduction: Why Propagate Fiddle Leaf Figs?
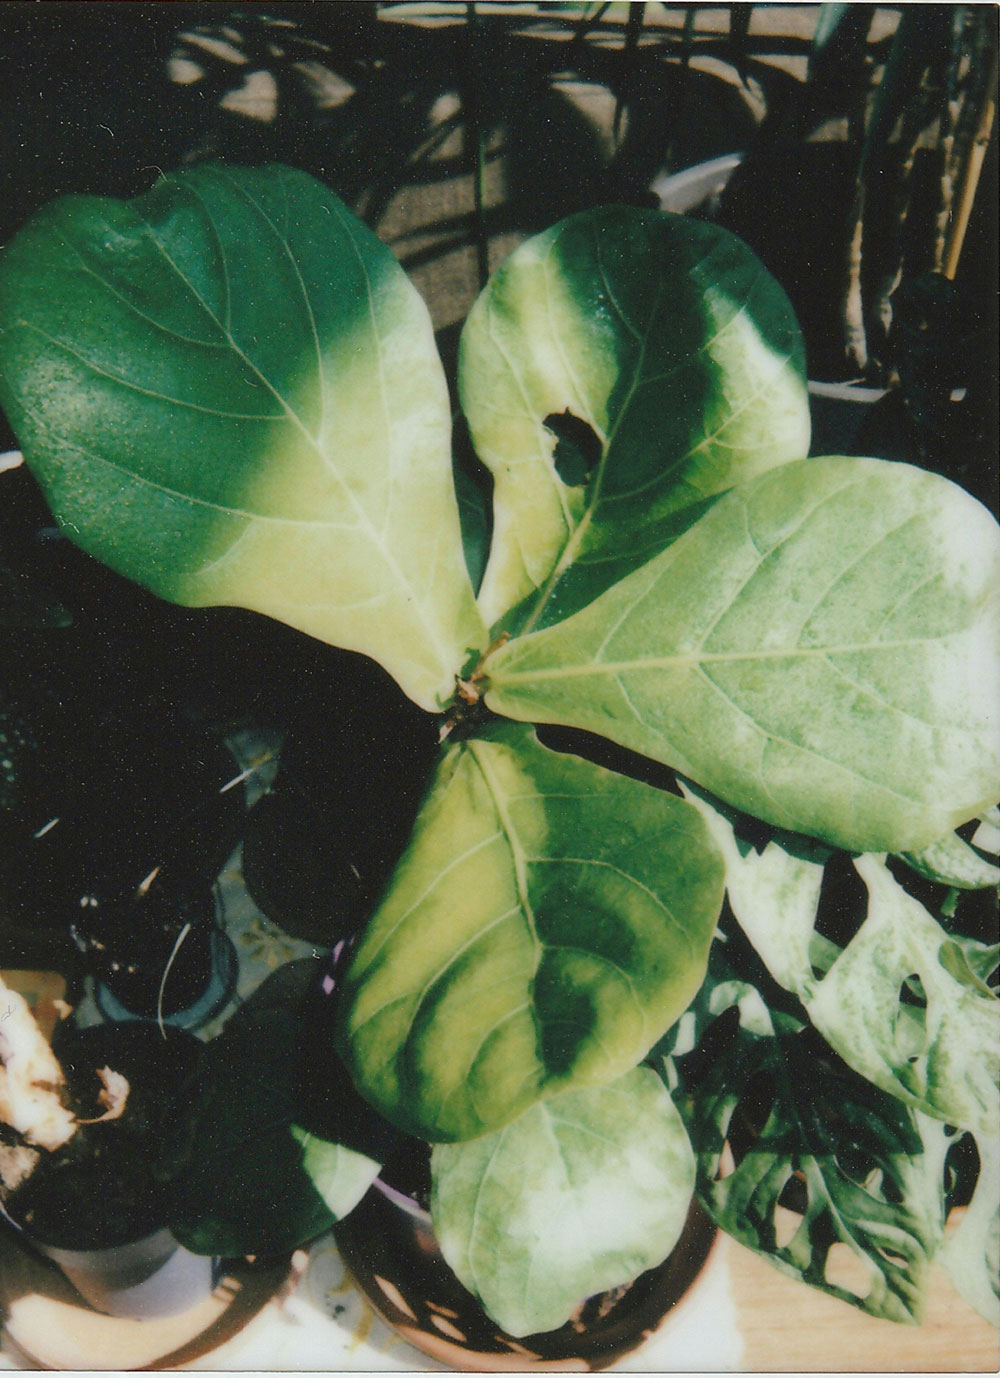
If you’ve got a Fiddle Leaf Fig (Ficus lyrata) in your home, you may be wondering how to propagate it and grow new plants. Propagating your Fiddle Leaf Fig is an excellent way to expand your collection, share plants with friends, or even create a fuller, more vibrant plant.
Propagating a Fiddle Leaf Fig involves taking a cutting from a healthy plant and encouraging it to develop roots, which will then grow into a new, independent plant. By following the right steps, you can create new plants that thrive just as beautifully as the original.
In this guide, we’ll take you through the best methods of propagating Fiddle Leaf Figs, and share expert tips to help you succeed.
Why Propagate Fiddle Leaf Figs?
Fiddle Leaf Figs are known for their striking, glossy leaves and unique appearance, making them one of the most sought-after indoor plants. Here are a few reasons why propagating Fiddle Leaf Figs is a great idea:
- Expanding Your Plant Collection: If you love your current Fiddle Leaf Fig, propagation allows you to grow more of these beautiful plants.
- Sharing with Friends: Propagating Fiddle Leaf Figs gives you the opportunity to share cuttings with plant enthusiasts in your life.
- Cost-Effective: Instead of buying more Fiddle Leaf Figs, you can propagate them from the original plant.
Step 1: Selecting the Right Cutting
The first step in propagating your Fiddle Leaf Fig is choosing the right cutting.
- Choose a healthy stem: Look for a healthy branch with several leaves. It should be free of disease or damage.
- Cut just below a node: Make a clean cut just below a leaf node (the area where leaves and roots will sprout).
- Length: Aim for a cutting that’s around 6-8 inches long, with at least 2-3 leaves attached.
📸 Tip: Use sharp, clean scissors or pruning shears to make a clean cut. This reduces the risk of infection or damage to the plant.
Step 2: Rooting the Cutting
Once you’ve selected your cutting, it’s time to start the rooting process. There are two primary methods for rooting Fiddle Leaf Fig cuttings: water rooting and soil rooting. Both methods have their advantages, but water rooting is the most common for beginners.
Water Rooting Method:
- Place the cutting in water: Put the cutting into a clear glass or jar, ensuring the node is submerged in water but not the leaves.
- Change the water regularly: Every 2–3 days, replace the water to keep it fresh and prevent mold growth.
- Wait for roots to form: After 2–4 weeks, roots should begin to appear. Once the roots are 2-3 inches long, the cutting is ready to be planted in soil.
Soil Rooting Method:
- Prepare the pot: Fill a small pot with well-draining potting mix. A mix designed for tropical plants works best.
- Plant the cutting: Insert the cutting into the soil, making sure the leaf node is buried about 1–2 inches deep.
- Water lightly: Keep the soil moist, but not soggy.
- Cover with plastic: To maintain humidity, cover the cutting with a plastic bag or a plastic dome to create a mini greenhouse effect.
- Wait for roots to form: After about 4-6 weeks, check for signs of rooting by gently tugging on the cutting. Once you feel resistance, the cutting has successfully rooted.
Step 3: Transplanting Your New Fiddle Leaf Fig
Once your cutting has developed a strong root system, it’s time to transplant it into a new pot with fresh soil.
- Choose a pot that’s 1–2 inches larger than the cutting’s root ball.
- Plant in well-draining soil: Use soil that’s designed for indoor plants or tropical plants for best results.
- Water thoroughly after planting and place the new plant in bright, indirect light.
📸 Tip: Be gentle when transplanting to avoid damaging the young roots.
Step 4: Caring for Your Newly Propagated Fiddle Leaf Fig
Once your Fiddle Leaf Fig cutting has been successfully propagated, it will need ongoing care to thrive:
- Light: Place your new Fiddle Leaf Fig in a location with bright, indirect sunlight.
- Watering: Water your plant when the top 1-2 inches of soil are dry. Ensure the soil has good drainage to prevent root rot.
- Humidity: Fiddle Leaf Figs love humidity, so if you live in a dry climate, consider using a humidifier or misting the plant occasionally.
- Fertilizing: Once your plant is well-established, you can feed it with a balanced fertilizer during the growing season (spring and summer).
Common Mistakes to Avoid When Propagating Fiddle Leaf Figs
- Using a cutting that’s too small: A cutting that’s too small or lacking healthy leaves may not root properly.
- Too much sunlight: Direct sunlight can scorch young cuttings, so place them in bright but indirect light.
- Overwatering: Fiddle Leaf Figs are sensitive to overwatering, especially when they’re rooting. Ensure the soil has proper drainage.
- Not using clean tools: Always sterilize your scissors or pruning shears to prevent transmitting diseases to the cutting.
Conclusion: Successfully Propagating Fiddle Leaf Figs
Propagating Fiddle Leaf Figs is an easy and rewarding process. By following the right steps and providing your cutting with the correct care, you can create new plants that will flourish and thrive.
With patience, the right conditions, and a little TLC, you’ll soon have beautiful new Fiddle Leaf Figs growing strong and healthy.
🌱 Ready to try propagating your Fiddle Leaf Fig? Follow our steps and watch your plant collection grow!

Leave a Reply